Top 5 Mistakes People Make With Their Golf Simulator
We have been building and designing golf simulators since 2010, installing some of the first residential golf simulators in Edmonton.…

We have been building and designing golf simulators since 2010, installing some of the first residential golf simulators in Edmonton. Through all of those years we have seen countless installations, both good and bad. Today I want to go over some of the biggest mistakes that I see people make in regards to their home golf simulator.
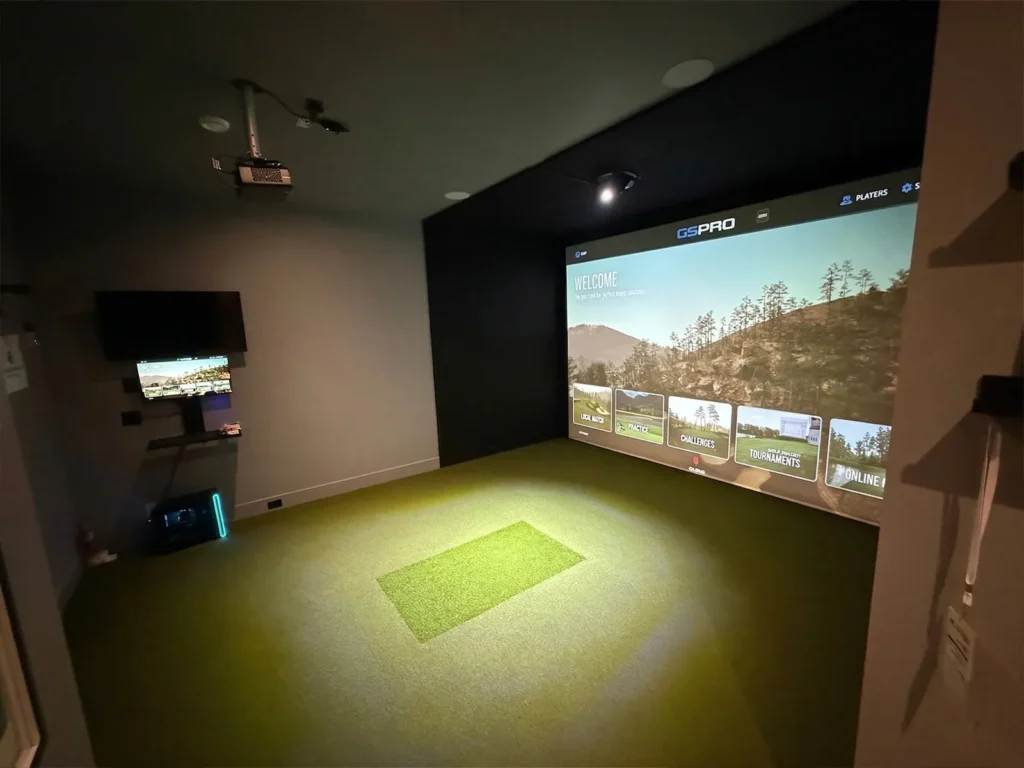
This one might seem obvious, but it still comes up time and time again, and often not for the reasons that people think. The primary problem with space has nothing to do with the technology, we can find a launch monitor that will be suitable for just about every space. The real problem is messing with your golf swing.
Tight walls and low ceilings will inevitably change the way you swing, and if you are grooving away your swing in the sim, it will no double affect your swing on a real course. Players will start steering their club, braking on their follow through or altering their backswing to avoid hitting something.
While these numbers below are not an exact science. My real recommendation is for you to take your driver into the potential space and take some practice swings. For an ideal experience you should be able to swing as free as if you were on a driving range.
| Minimum to cater to both dexterities | Minimum single dexterity (offset room) | Preferred | |
| Floor to Ceiling Height | 9′ (dependent on player height) | 9′ (dependent on player height) | 10′ |
| Room Depth | 16′ | 16′ | 20′ |
| Room Width | 14′ | 12′ | 15′ |
**PS DON’T FORGET TO INCLUDE AT LEAST 12″ BEHIND YOUR SCREEN FOR BALL IMPACT**
You’ve just spent thousands on a state-of-the-art launch monitor and a beautiful custom room. You set everything up, stripe a drive down the middle, and……. wait. One second. Two seconds. Finally, the ball stutters onto the screen, glitching its way down a the fairway.
The illusion is instantly shattered. This is something our team has seen all too often when sent out on service calls for simulators we did not design.
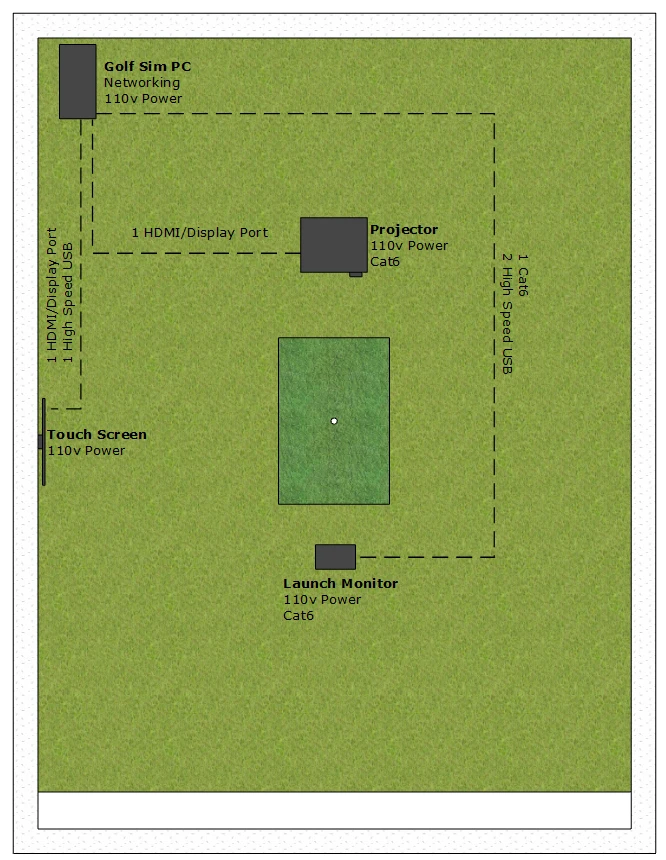
One of the most common mistakes DIYers make is blowing their budget on the golf hardware and trying to run modern simulation software on an old laptop or a cheap, big-box-store desktop.
Here is the reality: modern golf simulation software—like GSPro, PurePlay, GolfJoy, or E6, are essentially high-end AAA video games. They are rendering real-time physics, dynamic lighting, and 4K environments the millisecond your club hits the ball. If your computer’s processor and graphics card can’t keep up, you will experience lag, dropped frames, and software crashes.
How to avoid this mistake: When budgeting for your simulator build, treat the PC as the brain of the entire operation. The most critical component you need to look at is the GPU (Graphics Processing Unit).
The Bottom Line: Don’t handicap a $5,000+ simulator setup with a $500 computer. If tech specs aren’t your second language, reach out to our team at Alberta Golf Sim. We can point you toward the exact specs you need to ensure your ball flight registers instantly, keeping the experience as close to real golf as possible. When choosing your software, pay close attention to the recommended requirements, stay away from “minimum requirements”
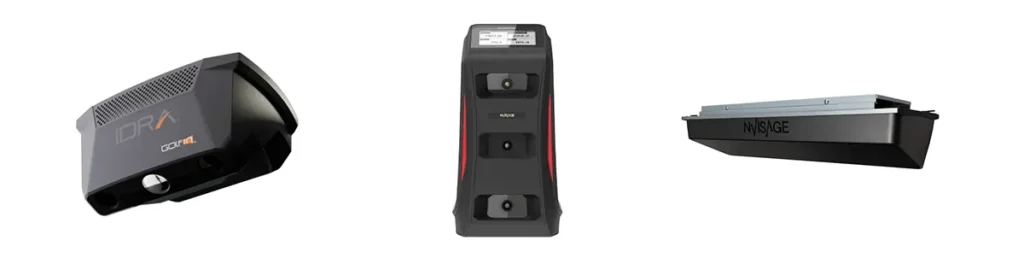
Your launch monitor is the engine of your entire simulator. You can have a stunning 4K screen and a custom enclosure, but if the device tracking your club and ball is inaccurate, you don’t have a golf simulator, you have a very expensive arcade game.
When trying to keep costs down, many buyers gravitate toward entry-level, budget-friendly launch monitors. But choosing the wrong tracking technology for your specific room and player group is a mistake you’ll regret after your first round.
Here are the three pitfalls buyers fall into when picking a launch monitor:
1. Using Radar Technology in Tight Indoor Spaces Many budget-friendly units use radar technology (like the Garmin R10 or FlightScope Mevo+). Radar is fantastic outdoors on the driving range, but indoors, it needs a lot of room to “watch” the ball fly.
Typically, you need 8 feet of space behind the ball and at least 8 feet in front of the ball for the radar to accurately calculate spin and flight. If you don’t have that depth, the unit has to guess—leading to frustrating, inaccurate shots. For most indoor setups, camera-based systems are far superior because they capture high-speed images at the exact moment of impact, requiring much less space. Luckily the costs of fantastic overhead launch monitors has come down substantially over the years.
2. Forgetting the “Canadian Lefty” Factor Thanks to hockey, Canada has the highest percentage of left-handed golfers in the world. If you buy a floor-standing unit (which sits on the floor facing the golfer), it works great for a solo right-handed player. But the second you invite a lefty over for a simulator night, you have a problem. You’ll have to physically move the unit across the mat, realign it, and sometimes swap the software settings every single time the turn changes.
3. Ignoring Hidden Subscription Fees We have entered a day and age where it seems like we can’t actually own anything. Unfortunately this is becoming very much true in the golf simulator industry. More and more brands are moving to a software as a service economy, which is great for them, but overall poor for the consumer. They lock your hardware behind recurring paywalls, charging you $300 to $1500+ annually just to use the device you already bought or to connect it to third-party software such as GSPro.
The Bottom Line: Don’t buy a launch monitor purely based on the sticker price. At Alberta Golf Sim, we heavily favor brands that offer incredible accuracy, overhead mounting options for seamless multiplayer, and—most importantly—models that don’t hold your hardware hostage with excessive annual subscription fees.
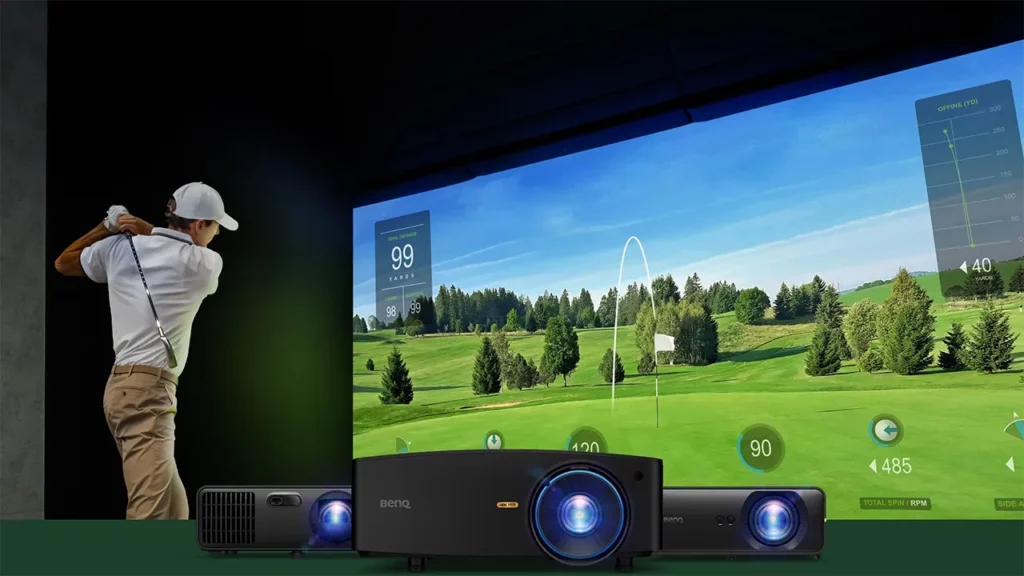
It’s easy to hop online, search for a “4K projector,” and click buy. But in the world of golf simulators, a standard home theater projector may not be the ideal choice.
Buying a projector based solely on its resolution without understanding how it interacts with your room dimensions, your computer, and your launch monitor is a recipe for a distorted, washed-out image—or worse, a shadow of your own body blocking the screen every time you swing.
Here are the three ways people get projector purchases wrong:
1. Ignoring the Throw Ratio
The “throw ratio” determines how far back the projector needs to be mounted to fill your specific screen size. If you buy a standard throw projector, you might have to mount it 20 feet away to fill your screen. The problem? That places the projector directly behind you, meaning your body will cast a massive shadow over the fairway when you address the ball.
2. The 4K Trap (Mismatching Resolution to Your PC)
A 4K projector looks incredible on a premium impact screen—but only if your gaming PC is powerful enough to push 4K graphics. If you connect a $6,000 4K projector to a mid-range PC, the computer will struggle to render the graphics, resulting in severe lag. In that scenario, the software will automatically downscale the image, meaning you just paid 4K prices for a 1080p picture. Match your projector resolution to your PC’s graphical horsepower and your chosen software’s output.
3. The “Lighting Paradox”
This is where DIYers get extremely frustrated. If you are using a photometric (camera-based) launch monitor, the cameras need a bright, well-lit area to accurately capture the ball spinning at impact. However, your projector requires a dark room to cast a vibrant, punchy image. If you just flip the overhead lights on, your launch monitor works perfectly, but your screen looks totally washed out. If you turn the lights off, the screen looks amazing, but the launch monitor misses your shots.
The Bottom Line: Don’t just look at resolution. You need a short-throw projector with a high lumen count (brightness) to combat ambient light, paired perfectly with your room dimensions and PC specs.
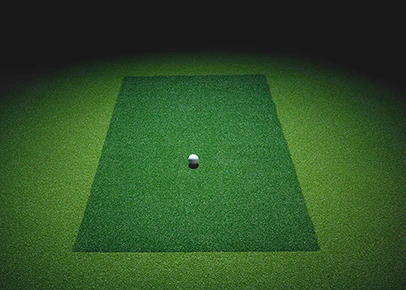
By the time some people get to the hitting mat, the budget is running thin. It’s incredibly tempting to hop on Amazon and buy a generic $150 square of artificial grass. After all, it’s just a piece of turf to stand on, right?
Wrong. Buying a cheap hitting mat is the fastest way to ruin your simulator experience, and your golf swing.
Here is what happens when you hit a fat shot on a cheap mat: the clubhead bounces off the unforgiving surface (which is essentially a thin piece of foam over a concrete floor). The shockwave travels straight up the shaft and into your hands. Over time, this can lead to wrist, elbow, and shoulder pain. Furthermore, to avoid the pain, your brain subconsciously teaches you to “sweep” the ball rather than hitting down and compressing it, completely destroying your real-world swing.
The Pro-Level Solution: Tee Strike Mats At Alberta Golf Sim, we don’t mess around with cheap mats. We exclusively focus on custom SYNLAWN Tee Strike hitting surfaces. If that name sounds familiar, it’s because it is the exact same hitting mat technology used by the PGA professionals in the TGL indoor simulator golf league. It is engineered to absorb clubhead impact and realistically simulate taking a divot, protecting your joints and allowing you to swing exactly like you would on a real fairway.
The “Built-In” Advantage Instead of having a bulky, raised mat sitting on top of your floor like a trip hazard, we take a different approach for our custom rooms. We install a full-room premium putting turf and cut the Tee Strike hitting strip directly into it.
This gives you two massive advantages:
The Bottom Line: Your body is the most important piece of golf equipment you own. Invest in a premium, flush-mounted hitting strip that protects your joints and makes future maintenance incredibly easy and cost-effective.
Building a home golf simulator shouldn’t be a gamble. Every component—from the PC and the launch monitor to the projector and the hitting mat—needs to communicate seamlessly and fit your specific room dimensions perfectly.
When you try to cut corners on the foundational tech or piece together a setup blindly, you end up spending more money fixing the mistakes than you would have if you built it right the first time.
You don’t have to navigate the technical headaches alone. At Alberta Golf Sim, we specialize in designing and installing custom, high-end simulator experiences that look incredible and perform flawlessly. Whether you need the right overhead launch monitor to accommodate the lefties in your family, or a custom-cut Tee Strike mat seamlessly integrated into premium putting turf, we have you covered.
Don’t let a simple mistake ruin your dream build. Reach out to our expert team at Alberta Golf Sim today for a consultation. Let’s build your simulator right the first time, so you can spend less time troubleshooting and more time dropping strokes off your handicap.